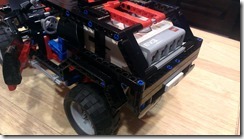
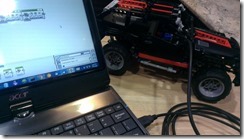
Continuing from my previous post, I was ready to put in a second EV3 motor and drive train for the rear wheels of the cruiser.
The Mindstorms EV3 retail set comes with two large motors and one medium motor. Conventionally, the two large motors are used to drive the wheels of an EV3 robot, using two-wheeled turning (where the wheels along the same axis are rotated in opposing directions to turn the robot left or right). The medium motor is conventionally used for peripheral movements, such as moving a robot arm up and down.
Note that two-wheeled turning is not typically used in standard vehicles. In a standard vehicle, the engine drives one axis, either front-wheel or rear-wheel driving, and the steering wheel is used to turn the front wheels left or right. Most Lego Technic sets, aside from the robot sets, are patterned after a standard vehicle.
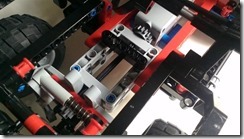
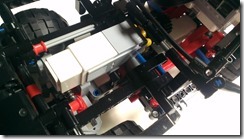
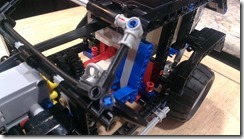
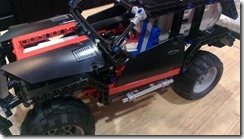
I’ve already put the EV3 medium motor as the steering motor for my modified cruiser. Now I’m trying to find a position for an EV3 large motor to drive the gear that is exposed underneath the dashboard. These are some of the positions I’ve explored:
That large motor sure takes up a lot of space. The first two configurations put the motor axis at the front, under the hood, and I would need to have a gear train going backward to the gear under the dashboard. However, the big part of the motor takes up a lot of space inside the cruiser cabin.
I really wanted to leave some space inside the cabin for future expansion, like a toy figure, a camera, or an Arduino. So I initially settled for that third configuration, where the motor axis is inside the cabin and have a shorter gear train going towards the gear under the dashboard. The big part of the motor does take up the whole front and precludes me from putting the hood back onto the cruiser. I also had to borrow a large gear from the EV3 set as part of the gear train.
Even with that third configuration option properly set up, I felt that the 90-degree angle in the gear train was a weakness. I tried spinning the motor axis manually to see how it runs, and the gears would often slip at that 90-degree angle.
I was in a bind. None of the configurations seemed to work out. Because I wanted the gear train to be stronger, the only other possible solution is to place the motor horizontally inside the cabin. It would take up the whole cabin space, but the motor axis would fall directly above the gear under the dashboard and there would be no angles in the gear train.
I gave up for the day and noodled over it for a couple of weeks. One day afterwards, I had a conversation with Claire about the difficulty I’m having with the modified cruiser. I showed her the different configurations I’ve been trying with the motor and the unsuitability of each of those configurations. After looking at it for a few seconds, she casually suggested, “Dad, just use another EV3 medium motor.”
o_O
I had been so caught up with trying to fit that EV3 large motor to drive the cruiser, that I never even thought of testing out a different piece. The EV3 medium motor is not as powerful as the large motor, but after running some tests, we found that it was still enough to drive the cruiser. Back last summer, when I purchased the EV3 set, I was so hooked into EV3 so that I also purchased additional pieces, additional sensors, and an additional medium motor. I did have a second EV3 medium motor to use.
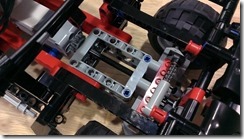
Going back to look at the engine space where I can place the second medium motor, I looked for mount points where I can attach the motor. There is the gray frame at the bottom, there are the black horizontal beams running front to back on each side, and there are a couple of red connector pins at the front.
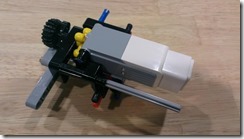
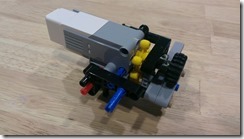
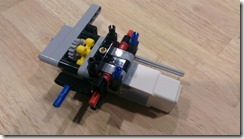
One of my goals with this project was to “borrow” as few pieces as possible from other Lego sets. If I can complete this by utilizing just the Lego Cruiser pieces, plus the EV3 brick and motors, then it would be easier for others to do the same. I had some leftover pieces from the right angle gear train that I removed, some pieces from the passenger chair, some pieces from the V4 engine, and some pieces from the cruiser rear that I could reorganize. With all those pieces, I came up with a construct that would rival that of a Star Wars vehicle.
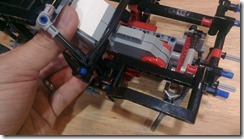
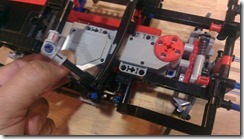
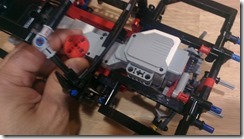
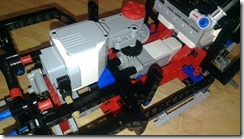
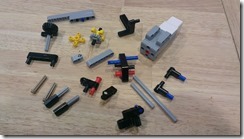
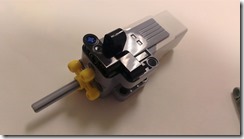
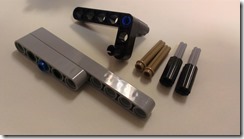
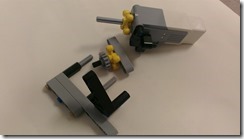
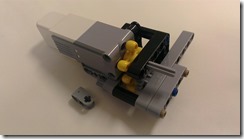
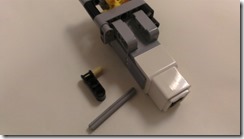
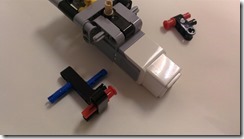
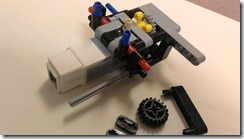
Since these are just leftover pieces, the construct is asymmetrical. I think I also included too many mount points: four mounts to the bottom frame, two or three mounts to the horizontal beams, and an axle mount to one of the red connector pins. It came out really stable, but I could have saved more pieces by reducing the number of places where I mounted the motor. Assembling the construct is pictured as follows:
Attaching this construct into the engine cavity of the cruiser is a little difficult. It would have been easier to attach it while early in the process of building the cruiser frame. The number of mount points I used also added a bit to the difficulty.
Once I got the motor in there, the rest is just attaching the decorative parts of the cruiser: the steering wheel, the driver chair, the hood, the side doors, and the modified rear panel. There was one beam and a few small pieces left, but I am surely glad I was able to rebuild the cruiser with its own set of pieces.
The drive motor is attached to Port C of the EV3 brick, and the steering motor is attached to Port D. The USB port used to download a program to the brick is still accessible. Using the Bluetooth connection is preferable since you don’t have to fiddle with wires nor need to run the program using the buttons on the EV3 brick. Here’s a link to a video showing the autonomous cruiser running a short EV3 program:
https://www.youtube.com/watch?v=p-XC_OytYgE
In the test runs, I noticed that the 3-gear straight gear train that drives the rear wheels would occasionally slip. I may have underestimated the weight that the EV3 brick puts on the cruiser and the increased torque requirements to move the cruiser forward. I don’t think a stronger motor is needed, so I just lowered the speed of the motor to reduce the gear slippage.

