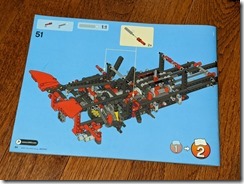
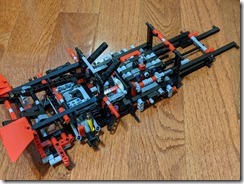
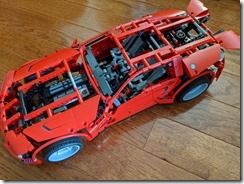
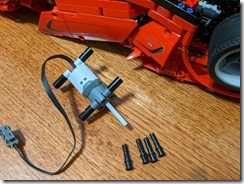
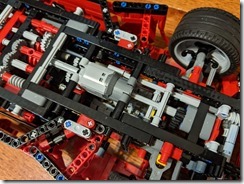
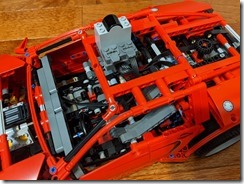
This particular model is not a recent model. It was released in 2011 and comes with a battery box, a motor, and a gearbox to control several functions – rear spoiler, lifting the hood, and opening the left and right doors.
This caught my interest because as I look at the build, it felt like the designers intended this model to be motorized. I ordered the set from an aftermarket sale, and proceeded to motorize the model with as few additional pieces as possible.
Similar to how I approach motorizing any LEGO Technic model, it is best to think about placement of the steering and drive motors during the middle of construction. It will be at that time where you come up with an inventory of additional pieces needed to mount the motors.
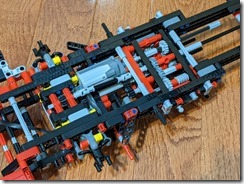
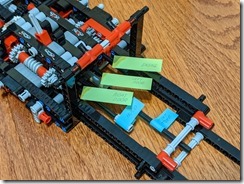
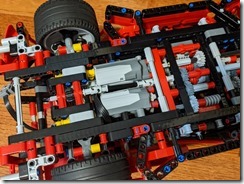
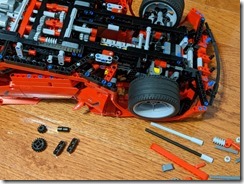
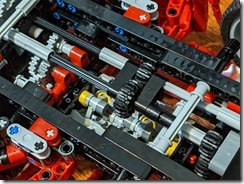
Here at Step 51 of the build, the motor that controls the functions is located at the right underside of the model. An additional motor can be mounted in a similar way at the left underside. Right at Step 51, there are five different axles extending towards the front and I’ve marked what function each one is connected to.
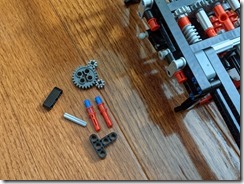
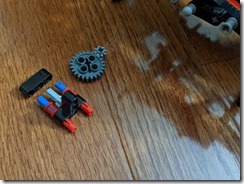
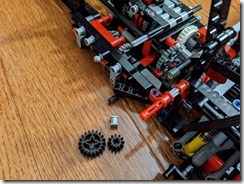
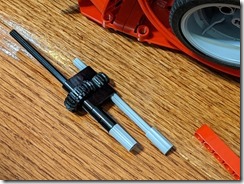
With three additional gears and a few pieces, I am able to mount an additional medium motor that serves as the drive motor. The new gears join together as a gear train to replace the existing gear train at the left underside.
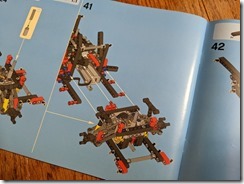
Step 51 is actually too far ahead and I had to backtrack to Step 41 where I am able to replace the gear train. That was probably the hardest part in installing the drive motor. After installation, the rest of the build is the same and straightforward.
With the memory of making a bad assumption when I motorized the LEGO Technic F-150 Raptor, I went ahead to finish the build to test out the drive motor, even before I had the steering motor in place. A medium motor was too weak in the position where I placed it in the F-150 Raptor. I wanted to check if that is also the case with the 8070 Supercar. Fortunately, the lighter weight of the Supercar checked out and the whole model can be driven with a medium motor.
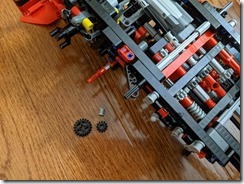
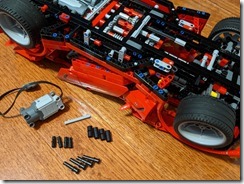
Looking at the underside of the model, one idea that occurred to me is to repurpose one of the axles controlling the power functions, and attach it to the axle that controls the steering, using a couple of gears. Only a few additional pieces are needed, but it would mean sacrificing one of the power functions. In this example, I repurposed the axle that lifts the hood.
I eventually decided to keep the existing power functions, add a separate large motor, and a few more pieces to mount the large motor. I chose the large motor here because there are way more mounting options with the large motor.
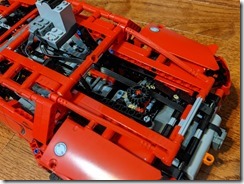
Disassembling the axle and the portion that controls the steering was just slightly difficult, but not impossible. The motor cable is threaded into the cabin and up to the roof where I mounted the IR receiver for remote control.
The IR receiver connects to the battery box located at the same place at the rear of the vehicle. The steering and drive motors, in turn, are connected to the IR receiver.

