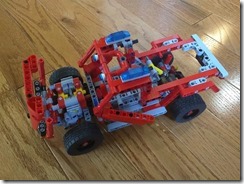
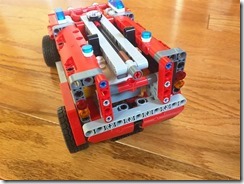
In Part 1 of the series, I used the EV3 brick and motors to motorize the Lego Technic 42075 retail set. While very flexible in programming and remote controlling the vehicle, the EV3 brick takes up the whole truck bed because of its size.
In Part 2 of the series, I used the Power Functions brick and motors. The smaller sizes of the brick and motors allowed me to retain the truck bed “side doors” and the spotlight attachment. It also allowed both driver and passenger seats to be retained because the engine motor can be mounted underneath the vehicle, instead of taking up the passenger space.
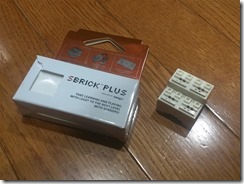
Using the Power Functions had its limitations. Infrared is used to control the engine and steering motors, so line of sight is necessary when controlling it remotely. Additionally, I felt there were too many extra Technic pieces needed to mount the Power Functions brick. The infrared limitation can be overcome by using an sbrick receiver, an amazing 3rd-party product that communicates via Bluetooth, and can control up to four Power Functions motors.
There are other pure-Lego options that are available. One option is using the Power Functions 2.0 brick and motors. The PF 2.0 brick is controlled via Bluetooth, and the motors are same in size to the Power Functions motors. The brick and motors have to be purchased individually, unless you have the 60197 Passenger Train retail set or the 76112 Batmobile retail set.
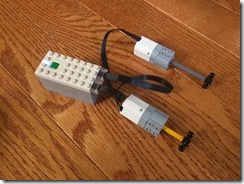
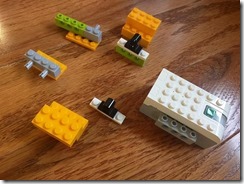
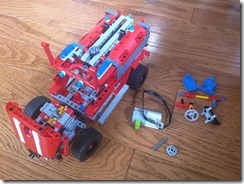
The Power Functions 2.0 motors are similar to the WeDo 2.0 motors, and the bricks are also similar; just additional mounting extensions on the WeDo 2.0 brick. Since I have the WeDo 2.0 set, I opted to use mostly extra pieces from that set to motorize the 42075 First Responder. There are a few additional Technic pieces I used to mount the motors, in the same way I mounted the Power Functions motors.
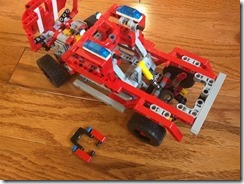
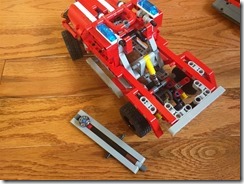
First step is again clearing off the cabin and truck bed space, in preparation for attaching the brick and motors. From the re-used pieces, you can prepare the attachment of the spotlight and its beams. Note again that I interchanged the 3LU-axle with the 5LU-axle because I need the 3LU-axle to attach the engine motor. The spotlight and beams are offset upwards from the original position by 2LUs.
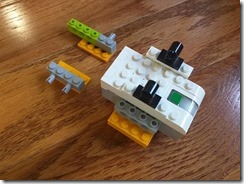
Although a little more compact, note that the Power Functions 2.0 or the WeDo 2.0 bricks are 4LUs in width so the construct for attaching the brick is asymmetrical (towards the left side of the truck). Because of the smaller size of the brick, the rear of the truck can stay pretty much the same as the retail set build.
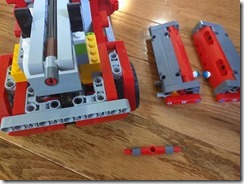
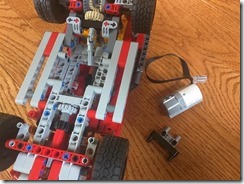
Finally, use a few extra Technic pieces to mount the engine motor underneath the vehicle, and the steering motor in the center of the cabin.
With the WeDo 2.0 brick and motors, you can use or write simple programs (Android program shown here) or use the WeDo 2.0 applications to control the engine and steering.

