A Glimpse of the Canon object.station 41

Every once in a while, as I work with vintage computers, I get the chance to meet some of the people who were “there” at the time when the computing revolution started or was in the early days.

Earlier today, I met with Al for some late ‘70s computing stuff.  What I also learned is that he was a director for the workstation division of Canon back in the ‘90s.  The Canon object.station 41 (link to PDF) was one of the products that came out from the workstation division.

CanonObjectStation41-1

CanonObjectStation41-2

CanonObjectStation41-3

CanonObjectStation41-4

CanonObjectStation41-5

CanonObjectStation41-6

According to OLD-COMPUTERS.COM, after NeXT abandoned the hardware business, Canon bought the license and started producing the successor to the NeXTstations. I recall Canon was the manufacturer of the magneto-optical drives used in the NeXT cubes, and had a huge financial investment in NeXT.

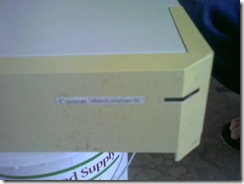
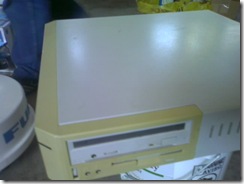
Al said Canon even tried to get NeXT to allow them to use the same “NeXTstation” brand for their product, but NeXT declined (I’m assuming that this was after NeXT stopped making the NeXTstation slabs).  Hence, the “object.station”.  It actually had a similar style to the black m68k slabs, with a height difference and the presence of an internal CD-ROM drive.  Some literature on the net indicated that Canon may have subsequently made the object.stations in black.

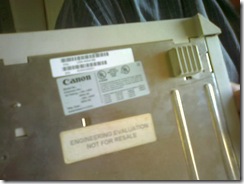
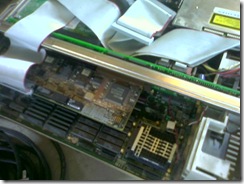
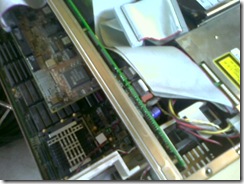
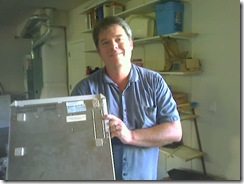
The pictures have Al showing me the object.station 41 with Serial #1 (there was a numeric prefix that my woeful phone camera was not able to get a sharper focus on).  That slab of machine is packed with circuitry on the inside.  He pointed out the capabilities of the object.station, specifically the display architecture that took advantage of C&T’s Wingine technology.

We didn’t have enough time to power up the machine (along with that matching huge display monitor).  However, Al was kind enough to give me some marketing literature for the object.station 41.  Being retired, he may eventually find time to tinker with his object.station.  Real worthy as a computer museum piece.

Posted in Retrocomputing | Tagged | 7 Comments

Portable SCSI Drives

About a week ago, I was tinkering with a few external SCSI drives. These external drives are those that draw power from one of the ports in a computer, instead of a wall wart or a direct power plug. In the process, I was humbled to learn a couple of lessons in electronics (I’m a software guy).

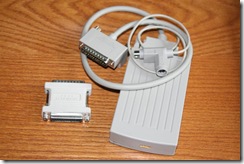
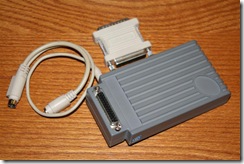
A couple of them are enclosures that draw power from an ADB port that is available on the Apple IIgs and older Macintoshes.  The ADB port can be used as a source for +5v.  These enclosures house 2.5” SCSI drives that were normally used in older Apple laptops before they switched to using IDE drives.  These drives just need +5v and do not need the additional +12v source that the bigger 3.5” drives need.
SCSIEnclosureADB1-1

SCSIEnclosureADB2-1

One of the 2.5” drives I used was a 1GB Microtech RoadRunner drive.  It is a slim IDE drive bolted to a SCSI-IDE adapter resulting in the same form factor as a regular 2.5” drive.  Kind of helpful to know, since those old 2.5” SCSI drives are getting harder to find.

My first humbling lesson is learning that using the wrong polarity will kill something.  Both enclosures have a barrel attachment to the power line connecting to the ADB port.  Connection looked the same, but the first one was center-positive.  I tried using the same center-positive line in the other enclosure and poof! – the ADB port in my IIgs just… died.  Keyboard and mouse stopped working, +5v source not coming out, and so on.  I could have attempted to bring out my soldering stuff, but eventually (remember that I’m not a hardware guy), I ended up sourcing another IIgs motherboard from a fellow Apple enthusiast.

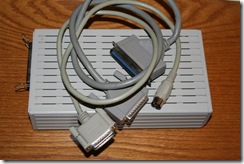
The next couple of SCSI enclosures I worked with were for 3.5” SCSI drives.  As mentioned, 3.5” drives typically need +12v and +5v.  These enclosures were meant to connect to the DB-19 drive connector at the back of the IIgs or a chained external diskette drive.
MicroNetTechnologyMP-20-5

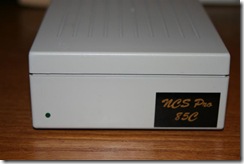
NCS Pro 85C-1

The former is a MicroNet Technology MP-20 with a 20MB SCSI drive.  It has a power cable from a DB-19 plug to a 5-pin DIN connector.  From tracing the lines and referencing the DB-19 pinouts, the 5-pin DIN connector has the following pinout:

din5dm

  • Pin 1:  +5v
  • Pin 2:  Ground
  • Pin 3:  +12v
  • Pin 4:  NC
  • Pin 5:  NC

The latter was an NCS Pro 85C with an 80MB SCSI drive.  These were both impressive and expensive back in the days.  For some reason, I don’t have the power cable for this.  The power cable was supposed to connect from the DB-19 port and into the 3-pin mini-DIN socket behind the enclosure.
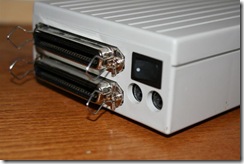
NCS Pro 85C-2

Not having been humbled enough with my polarity fiasco, I proceeded to wire up my own cable for the drive.  I had an extra DuoDisk cable that I cut up to get the DB-19 end, but was stumped on the mini-DIN connector.

My first attempt involved noticing that LocalTalk cables (the ones that run the network length, not the ones that attach to the serial port) have those connectors.  After performing once more the ritual dance of sacrificing a very good piece of hardware to make something else, I found out that the LocalTalk cable only had two lines.  Well, duh!  Networking only needs two lines.  The gods weren’t looking favorably at me that day.
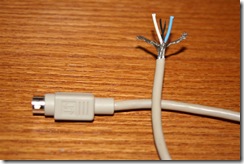
NCS Pro 85C-4

Off I went to the local Goodwill thrift store looking for a power adapter that uses the 3-pin mini-DIN connector.  Sure enough, I found one (I think it was for a Westell DSL modem).  The source voltage(s) did not matter since I would be cutting the cable.  I had to shave some plastic off the connector before it would snugly fit into the socket at the SCSI enclosure box.
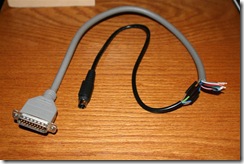
NCS Pro 85C-7

That’s when I had my second humbling lesson.  I followed the traces wrong and initially had +5v going into the +12v line, and vice versa.  This killed two of my SCSI drives (including the original one inside the NCS Pro 85C) before I realized what was wrong. After switching the two lines, I finally got one of my other IIgs to boot off the external drive.
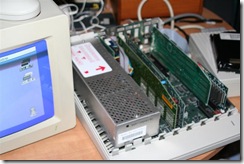
NCS Pro 85C-8

You can see in the pictures the two partitions I have in the new SCSI drive I placed inside the enclosure.

Posted in Retrocomputing | Tagged , , | 4 Comments

Setting Up The Apple IIgs

Today was as good as any to set up my Apple IIgs, which has been in storage for a while.  I don’t have a lot of desk space, so I really need to substitute something for that RGB monitor that comes with the IIgs.  I don’t have a rare Second Sight VGA card, so I’ll have to make do with the composite video output until I find a good scan-doubler that doesn’t cost an arm and a leg.

I can’t use my main LCD monitor, because it only has VGA and DVI inputs.  What I found that worked well enough is a 9” portable DVD player that has a switch to receive video input.  Color output wasn’t acceptable, but when I switch GS/OS to use monochrome output, the screen was quite readable.  Even 80-column text came out readable.  It’s not as sharp as RGB, but for the convenience of not having that bulky monitor on my desk, it’s well worth it.

AppleIIgsOnDVDPlayer-1

AppleIIgsOnDVDPlayer-2

AppleIIgsOnDVDPlayer-3

AppleIIgsOnDVDPlayer-4

AppleIIgsOnDVDPlayer-5

Just testing the DVD player a little bit more, the Apple IIc’s 80-column text mode came out the same way.  However, since I rarely use my Apple IIc (which I also dearly love), it’ll have to stay in the work table in the garage.

AppleIIcOnDVDPlayer-1

With the Apple IIgs up and about, I see good times ahead.  Yeah, I know I can run KEGS32 on my Windows box, or even Sweet16 on my old iBook (all of which I’ve also set up), but there’s some nostalgia involved working with real hardware.  Besides, I need my IIgs networked with the rest of my gear, and Sweet16 is the only IIgs emulator so far that has support for Marinetti’s Uthernet link layer.

My setup consists of a ROM3 IIgs, 4MB GS RAM card from Briel Computers, ZipGS accelerator, RamFAST Rev D SCSI card, and a 4-partition CFFA card.  I plan to get my Uthernet in there real soon, but there are a few tests I need to make using Marinetti’s MacIP link layer and the MacIP routers I’ve got.  I hope to also get some development work in there, as time and resources permit.

Posted in Retrocomputing | Tagged , | 1 Comment