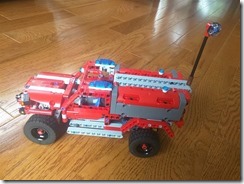
After my work of motorizing the Lego 42075 with an EV3 brick and EV3 motors, I searched and found similar work with motorizing the same retail set, but using the smaller brick and motors from Lego Power Functions; link here.
I have enough Lego pieces around the house to create a similar build. And couple with my own goal of minimizing the set of needed extra pieces, trying to re-use as much of the pieces in the Lego 42075 retail set. Because of the smaller brick and motors, the “side doors” on the truck bed can be retained and used to hide the brick.
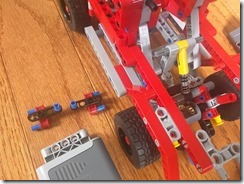
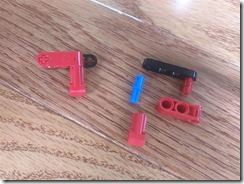
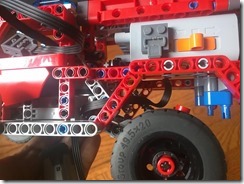
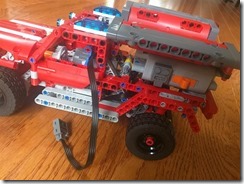
First is designing a stable mount of the PF power brick unto the truck bed. All the pieces shown here are extra pieces that are not part of the 42075 retail set. Note that I also interchanged the out-of-the-box 3LU-axle (I’m using “LU” as the unit of measurement for the Lego pieces) with the out-of-the-box 5LU-axle, because I need the 3LU-axle to attach the engine motor.
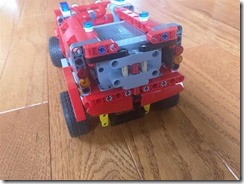
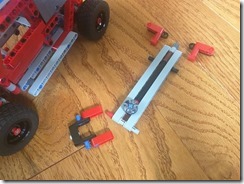
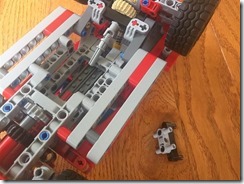
Next would be to securely attach the rear end of the brick to the rear of the truck, while providing some anchor points for the truck bed side doors. This is a mix of existing pieces and extra pieces, and builds the attachment all the way to the underside of the truck bed.
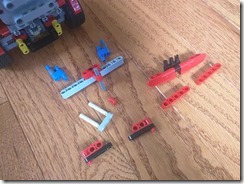
Next are the extra pieces to re-attach the beams that hold the spotlight accessory. Because of the bulk of the brick taking up space on the truck bed, the spotlight and beams are shifted back by 2LUs and up by 2LUs; it is at least still functional. Note the front attachment, re-used from existing pieces, that securely attaches to the front cabin to prevent wobbling on the spotlight and beams.
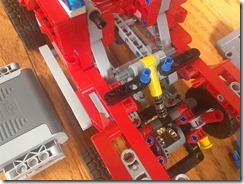
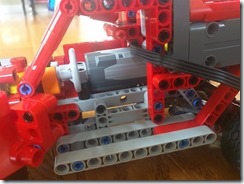
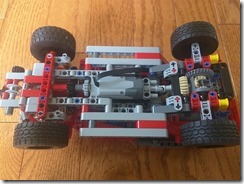
Then use some extra pieces to place the steering motor in the center of the cabin.
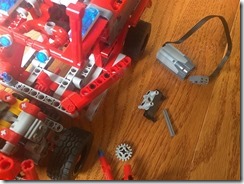
Finally use a similar set of extra pieces to attach the engine motor. Thread the motor cable inside the vehicle frame before attaching it. Because the Power Functions motors are shorter than the EV3 motors, there is enough space at the bottom of the vehicle to place the engine motor (in contrast to having the EV3 motor take the space on the passenger side of the cabin).
At the time of assembly, I could not find my Power Functions infrared receiver and remote control, so I was not able to thoroughly test this build. There is a cavity behind the cabin to place the infrared receiver and attach it to the two motors and the Power Functions brick. I did not pursue this build any further because of its limitations, and decided towards a different and better build – see Part 3 of this series.

