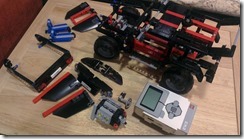
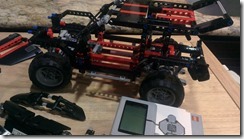
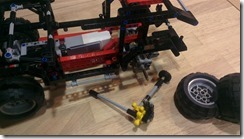
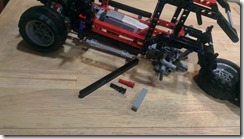
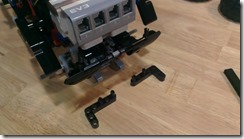
This is the first of few posts about my project in getting an EV3 brick into one of the Lego Technic retail sets.
I’ve always had a Lego Mindstorms robot kit ever since Lego came out with the NXT. Though I’ve played with Lego bricks since I was a kid, it was only with the NXT that I became interested with these Technic sets. And I was hooked. I even purchased the older Mindstorms Robotics Invention System right after I got the Mindstorms NXT.
I have been following the Mindstorms EV3 since Lego announced and showed it at CES 2013. After months of deciding between the education set and the retail set, I eventually bought the latter last summer (although I’m still keeping an eye for a good deal on the education set).
The EV3 was a radical evolution. The memory capacity was greatly increased that you don’t have to worry about running out of space for the programs you download to the brick. The now Linux-based system opens up a lot of possibilities. Even the motors and sensors were significantly improved.
I’m always on the lookout for things where I can embed the EV3 brick, motors, and sensors. This time I thought of looking into one of the existing Lego Technic sets. My initial candidates were the Lego 8070 Supercar and the Lego 8081 Extreme Cruiser. Both of them are retired sets, and there are other current sets that can possibly substitute, but the 8081 Extreme Cruiser attracted me because it really looks like it was made to be modified the way I was planning to.
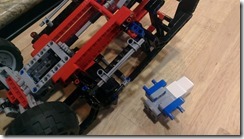
I started out with assembling the cruiser, but excluding the parts that are purely decorative. I call these excluded parts “fluff” because they are not part of the structural or functional aspects of the set. As I expected, the V4 engine is purely fluff. I was partly surprised that the steering wheel is fluff and not used to steer the front wheels. I left alone the suspension system and the differential mechanism for the rear wheels.
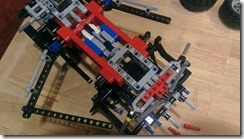
The wheel/gear at the roof is used to manually steer the front wheels. The next step is to replace this manual steering mechanism with an EV3 motor. I removed the gear system with the 90-degree angle rotation and that left a cavity at the bottom almost enough to squeeze in the EV3 medium motor; I eventually had to remove one of the straight horizontal beams in order to snugly fit the motor. I sacrificed the first of two front seats for the parts needed to attach the motor. Note that it really helps if you temporarily detach the wheels while you’re working with the vehicle structure.
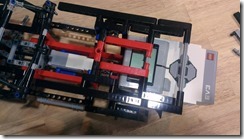
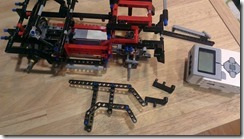
Next comes the part of finding the place to put the EV3 brick into. It’s too bulky to put it in front in place of the V4 engine. The rear part of the cruiser has a very nice enclosure where the EV3 brick can be inserted into. I repositioned the couple of angled beams that block the full brick from being inserted. With that, the brick can be inserted further and its weight is better supported by the vehicle structure. It was even able to accommodate the brick with a rechargeable battery – the rechargeable battery option adds one unit of measure to the height of the brick.
At this point, the only major piece remaining to be attached is the EV3 motor that will drive the rear wheels. The Extreme Cruiser set actually exposes the rear wheel drive with a single gear right underneath where the dashboard would be. The set comes with nothing to turn that single gear, except maybe by reaching in with a finger. The gear is actually just used to drive the decorative movement of the V4 engine. However, it was strategically placed so that it can easily be driven by adding a gear train and a motor.
Positioning this gear train and second EV3 motor brought some complications. More on that, and the solution suggested by my kid, on my next post.

