This LEGO Technic set came about 6 months ago. Although I ordered it much earlier in the year, the 2021 shipping problems of FedEx caused a lot of shipments to be delayed by months.
This was one of the bigger LEGO Technic sets I’ve ordered. I really wanted to find an easy way to motorize the set. Like many of the Technic vehicles, I think the designers have always put the possibility of motorization into consideration with their designs. With only a few additional pieces, and placing a control hub on the truck bed, it was not a difficult undertaking. It did take me two attempts for a working solution.
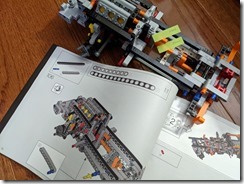
As the set is being built, continuously think about where the motors would be inserted. This allows for deciding what pieces will be excluded from the build, because those pieces may be harder to remove once the model is fully built.
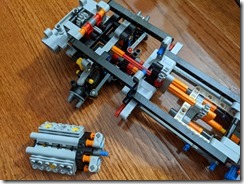
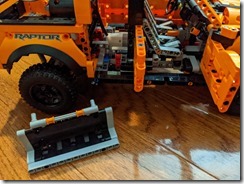
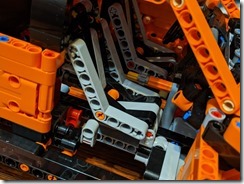
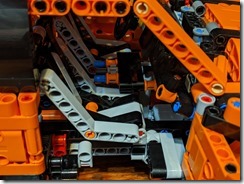
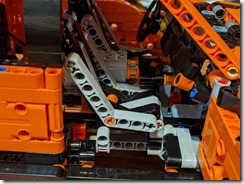
From Step 106 of the build, I marked the axles that will be used for the engine motor and the steering motor. This is also where I opted to remove the V6 engine from the construct because I may be able to use that space to house one of the motors if necessary. At the very least, I can re-use the pieces from the V6 engine.
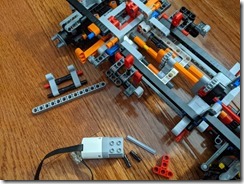
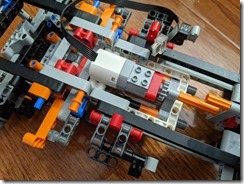
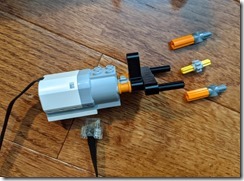
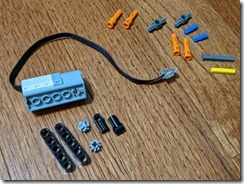
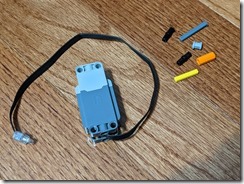
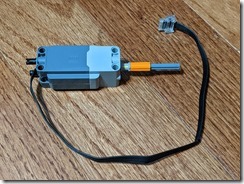
Then comes the part where I replaced pieces from the build with the engine motor. Aside from the motor, I needed a couple of pins, a 3×3 T-beam, and a 5-LU axle from my external parts bin. The 3×3 T-beam replaces the 3×1 orange beam to be used for mounting the motor. The 5-LU axle replaces the 4-LU axle so the axle would extend into the motor.
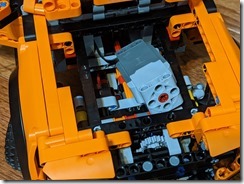
I’m gonna mention early here that this next set of steps did not work out in the final build. Follow along and you may realize earlier than I did on why they didn’t work out. Here you can see the engine motor in my first attempt as it looked once the truck cabin has been completed.
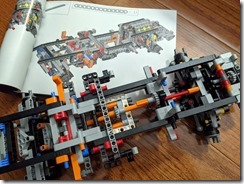
With pieces that were excluded from the build, taken from the V6 engine and the hand-of-God steering, the steering motor could be positioned on top of the engine motor.
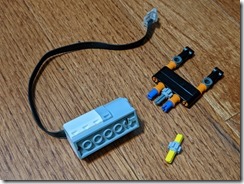
I eventually had to shuffle the pieces I used and ended up with the following set to mount the steering motor – six external pieces and the medium motor. The steering motor is mounted on the same points under the truck dashboard where the V6 engine used to be mounted towards the front.
Things seemed to line up and I was ready to test it out. I just loosely placed the hub on the truck bed, connected the engine and steering motors, and… big fail.
As it initially turned out, I was so used to using medium motors for motorizing my LEGO Technic builds. Medium motors are small enough and very convenient to integrate into different locations in the model. The Ford F-150 Raptor model was just big enough such that a medium motor was struggling to run the model because of its weight. The steering mechanism was just fine with a medium motor, but the forward/reverse mechanism was not.
I knew then that I had to switch to using a large motor. However, no matter how much time I spent looking at the space underneath the chassis where I initially placed the medium motor, I couldn’t find the space to put a large motor there. I ended putting back the original pieces underneath the chassis.
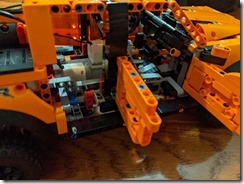
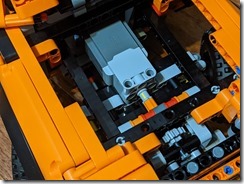
Another place where the forward/reverse mechanism can be driven is from the space where the V6 engine used to be located, under the hood. Instead of the wheels driving the fake V6 engine, I placed a large motor there to drive the wheels, with no need for any additional external pieces, except those taken from the displaced V6 engine and the hand-of-God steering mechanism.
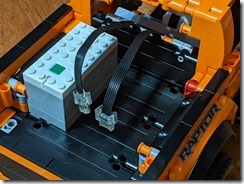
Lining up the cables underneath the cabin and out to the back of the truck, replacing the rear bench seat, we put a control hub on the truck bed and attach the cables. The bed is spacious enough to use any of the several hubs that can be used to drive the motors. I opted to just try it with an older Power Functions hub.
Using the mobile app to drive the truck was easy enough. Select a good model that can use Port A for the engine motor and Port B for the steering motor.

how wud eny one make the lego technic ford raptor faster and witch motors do ya use ?
An XL motor could provide more power. The raptor is pretty heavy and the Medium motor could not make it move at all.
However, I don’t see where the XL motor could be easily mounted.
how to fit a XL power function motor in the engine was in the lego technic ford raptor
I could not find a place to easily mount an XL motor, except maybe with using a gear train. There may also be third-party Large motors that provide more power/speed.